Improving the Overall Construction Quality
This page describes general tips and tricks, on how to improve your overall building quality. The following picture galleries show what kind of materials you should look for. They explain how to mix good quality mortars and concrete. They describe how to make your building square, level and plumb. And so on.
If you have further questions, or need assistance with the execution of your building, just send us an email via the contact page.
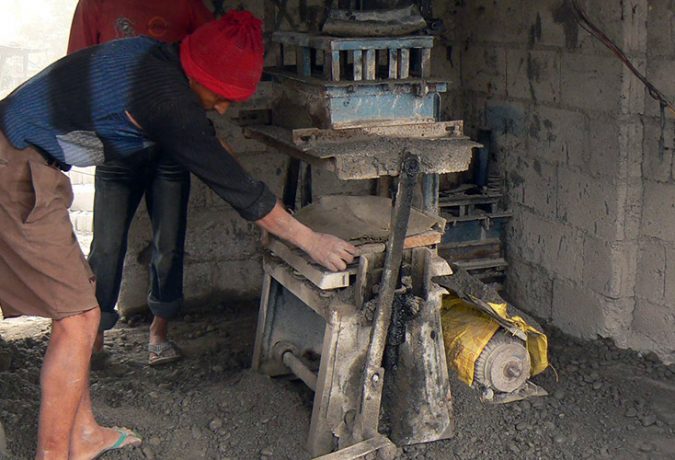
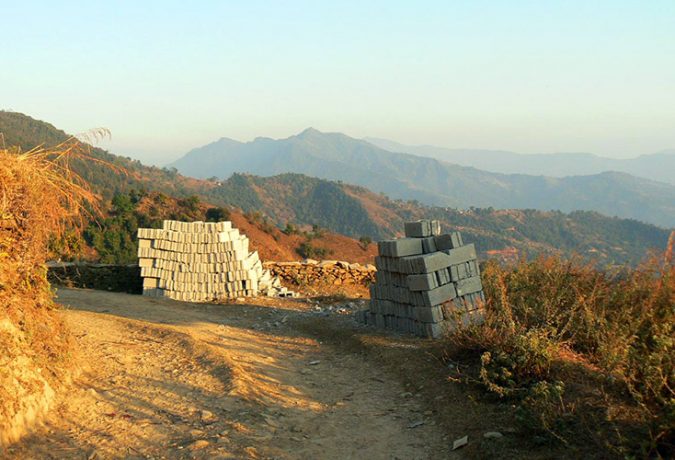
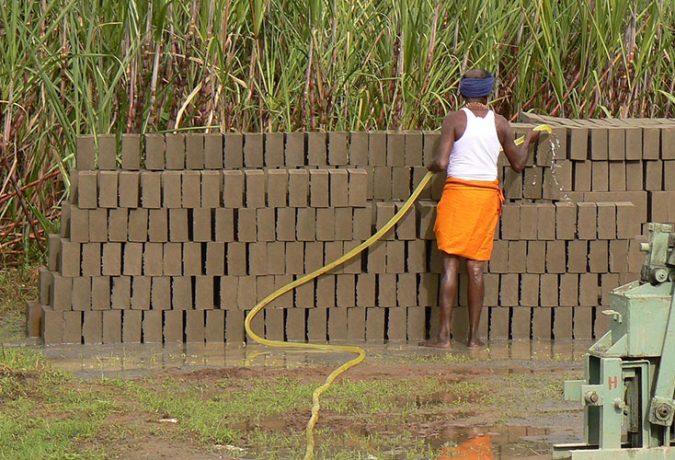
Choosing Good Bricks and Blocks
Full text will follow shortly. For now take a look at the pictures and its captions.
-
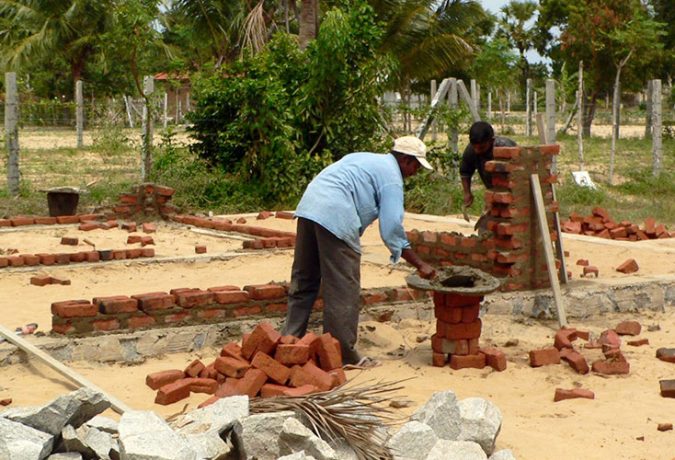
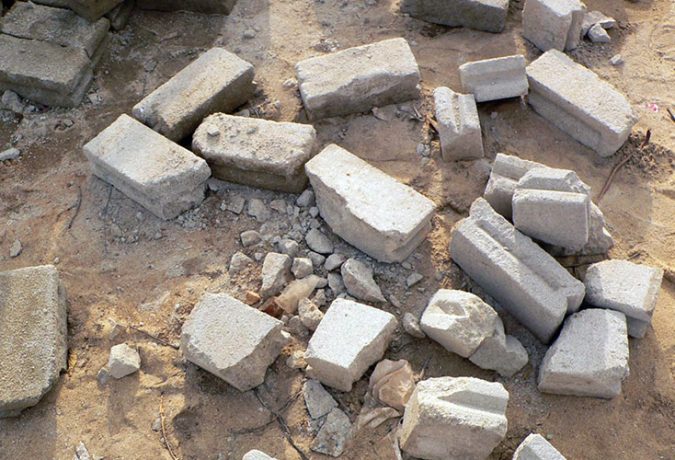
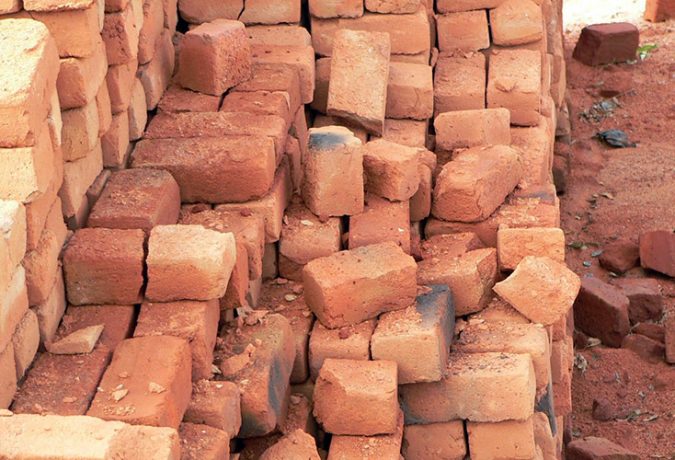
01. Bricks must be strong, have regular shapes, and regular dimensions. This pile with rounded corners and many broken bricks, looks suspicious.
-
02. Too soft and badly burnt bricks have no sufficient structural strength. The bricks here even starting melting after some heavy rains. Not good at all!
-
03. These bricks survived 8 hours of transportation in Nepal; a good indication of their strength and quality.
-
04. The edges are still sharp with not too many chips and cracks. Good bricks sound bright and hollow when you clap them together.
-
05. The same with cement blocks. From the outside you can immediately see there is too much breakage and the corners are too weak.
-
06. Suppliers have a tendency to put in the incorrect amount (too less) of cement in the mixture, resulting in structurally unsound blocks.
-
07. It is our job to detect such bad quality practices. Do not hesitate to break down things when they are not according to your expectations.
-
08. In Nepal we make clear deals with our suppliers. We pay them a few rupees more per block, but are demanding the right amount of ingredients.
-
09. These cement blocks survived 4 hours of bumping through the mountains in the back of a tractor. A good indicator of the strength of the blocks.
-
10. Stabilized earth blocks and cement blocks need to be kept moist for several days after production, to make sure the cement and concrete cure properly.
-
11. Before starting with your masonry, soak the bricks for some time, so that they bond well with the mortar.
-
12. How to choose your sand. In many cases the people are satisfied with whatever sand they can find from nearby lakes and rivers.
-
13. Very fine sand is to be used for plaster works.
-
14. Rough sand is suitable for use in cement mortar and concrete.
-
15. When the composition is too rough, sieve out the pebbles and use these as aggregate in concrete mixes.
-
16. Besides too large particles, sieving also takes out organic matter and other unwanted parts.
-
17. The low amount of salt in beach sand is no problem at all, but never add sea water to your mixture! Harvesting sand from public beaches is illegal.
-
18. This brownish pile of sand got our attention. It turned out to be sandy soil, which is not good for using in your mixtures.
-
19. A simple shake test revealed earth in our sample; the water gets cloudy. Reject this sand, it will result in weak mortar and concrete.
-
20. This is the result of organic matter in your mix. The mortar will have a low strength.
-
21. Aggregates for concrete are preferably around 20 mm in size.
-
22. However in many cases the people just use whatever they can find in their rivers nearby. These pebbles are way too large and should not be used.
-
23. This ‘beam’ has too many aggregates and their size is too big. Here you can see it is not possible to evenly mix and cast such ingredients.
-
24. Steel reinforcements are exposed and will rust, and water will penetrate this concrete easily. A waste of time, materials and money.
-
25. Try to recycle wherever you can. If some cases expensive sand can be replaced by quarry dust, or stone powder.
-
26. This stone dust gives the same compression strength in stabilized earth blocks, but is 5 to 6 times cheaper than sand.
-
27. Many parts of a broken down school building can be re-used, such as large stones from the walls.
-
28. When you have a few hundred students available, the work goes fast.
-
29. Stones and boulders can be reused in the foundation, and as floor filling. Why hack new stones out of the mountain, if you already have them?
-
30. Generally the wood quality of old frames is still good, so it is possible to make one new frame out of 2 or 3 older frames.
-
31. No need to chop down another tree and it saves you money as well.
-
32. To ensure the highest quality, you need full dedication and be present on-site for constant training and proper supervision.
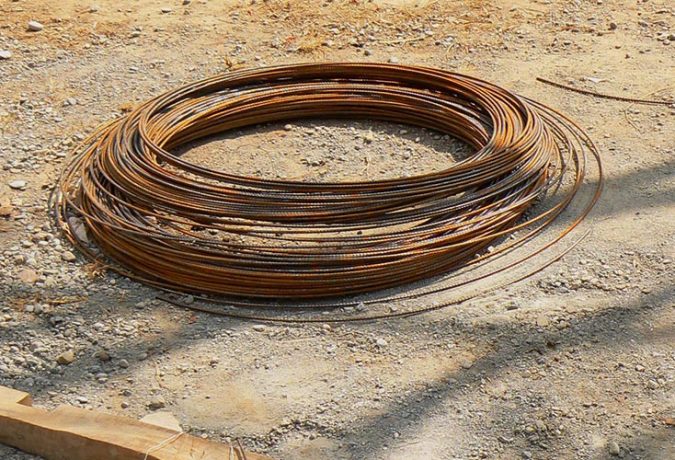
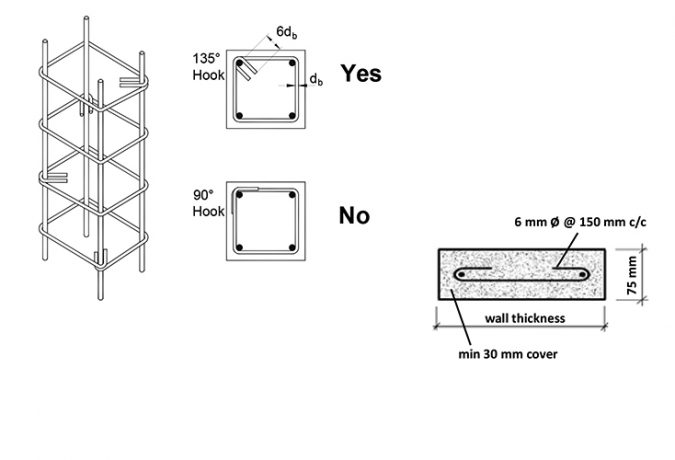
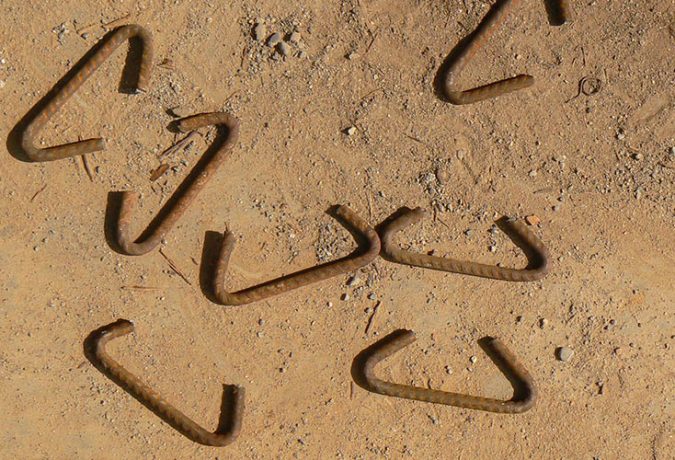
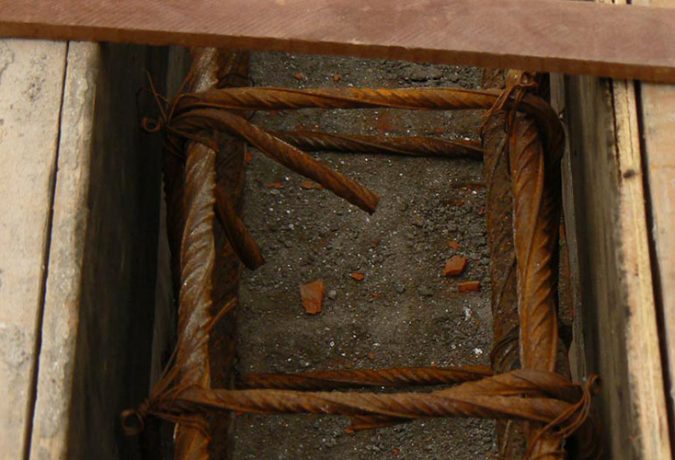
Cement, Steel Reinforcements and Concrete
Full text will follow shortly. For now take a look at the pictures and its captions.
-
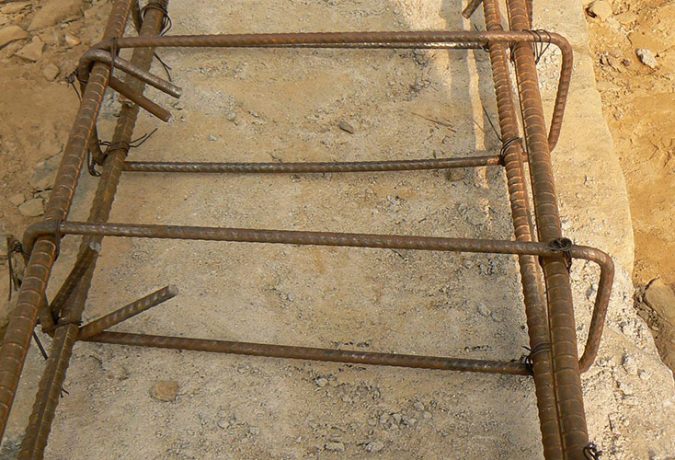
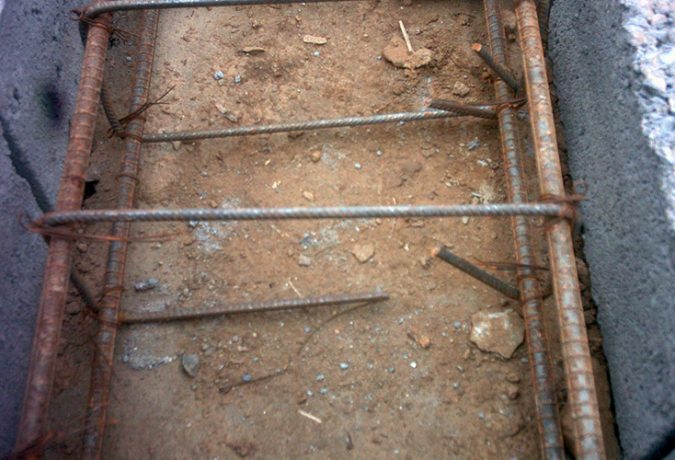
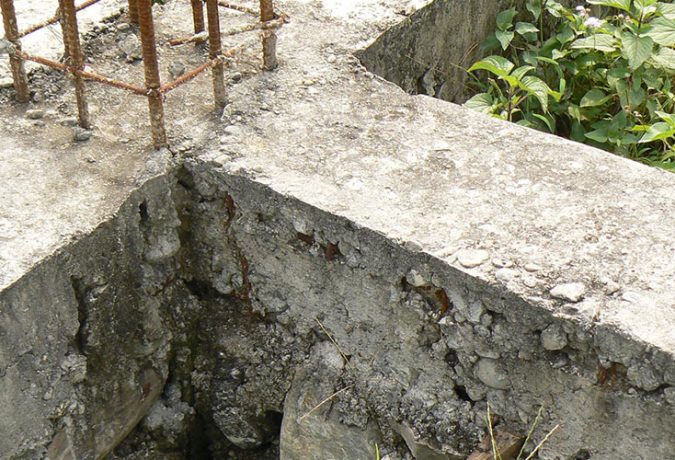
01. This beam is badly cast and all steel reinforcement is exposed. Such poor quality has not much strength and will be very dangerous in seismic zones.
-
02. To do it right, first we need to determine the correct sizes and amounts of steel, and how the connections must be made.
-
03. Calculate the correct diameters, and do not save costs on your steel. Too thin rods such as on this picture, will result in weak columns and beams.
-
04. Stirrups and hooks must be bent and applied in specific ways. Make sure you know how before you start.
-
05. These stirrups are NOT correct. They must be bent back 180 degrees, or they may open and crack your beam during an earthquake.
-
06. These stirrups are NOT applied and tied correctly, especially see the space between rod and stirrups on the right side.
-
07. Half a stirrup is no stirrup at all. Too many of such errors may result in collapse during a seismic event.
-
08. So supervision is of the utmost importance. Mark down badly tied stirrups and demand that they are done properly again.
-
09. A commonly seen mistake. Do NOT place your formwork directly against the steel bars. You need at least 30 mm of concrete coverage on your steel.
-
10. A good solution is to make or buy cement spacers. We make them with a pvc pipe or bamboo rings that we fill up with cement and a piece of steel wire.
-
11. The spacers are 30 mm thick. They are placed below the steel cages, and tied to the sides of the steel. Now you’re sure to have good coverage.
-
12. Check your cement before you add it to the mix. Cement with too big lumps is old and should not be used.
-
13. This mason has weighed an amount of cement and decides to mix it elsewhere.
-
14. During his short walk he is loosing most of his cement, so whatever he is mixing now, the quality will be poor and the strength too weak.
-
15. The solution is to make all your mixtures by using a measuring box. This box has the exact volume of one bag of cement.
-
16. When mixing for example a batch of concrete, you now empty one bag of cement, and add 2 boxes of rough sand, plus 4 boxes of right sized aggregates.
-
17. After adding all ingredients, first properly mix the batch dry, so without water.
-
18. To determine if your mix has the right amount of water, you can do a slump test.
-
19. Fill up a cup or special slump cone, and turn it upside down.
-
20. When the mix has the right amount of water, the sample stays firm and hardly sags. Your mixture is ok.
-
21. When too much water was added, the sample completely collapses. This concrete should not be used, it will be weak.
-
22. Mortar that you can crumble easily, does not have the right mixture nor strength, and will be dangerous in seismic areas.
-
23. When mixed and applied properly, including the use of correct steel and spacers…
-
24. …a good beam looks like this. A tightly compacted and smooth surface with no steel exposed. Note the spacer; the steel is covered sufficiently.
-
25. Keep all freshly cast beams and masonry moist for several days, so that the cement and concrete can cure properly.
-
26. Same in floors. Apply spacers below the steel net to lift it up to the right position.
-
27. If available, use a mixing machine for good and evenly mixed concrete, especially when you need large quantities such as in floor slabs.
-
28. Also preferable is a compacting needle, to remove any air pockets from the freshly cast concrete.
-
29. Keep all beams, columns, mortar, masonry, and floors moist for some days for proper curing, especially in hot and sunny environments.
-
30. Always be present on-site for constant training and proper supervision. Here's our Nepali partner Damodar in action.
General Improvements on Your Building
Full text will follow shortly. For now take a look at the pictures and its captions.
-
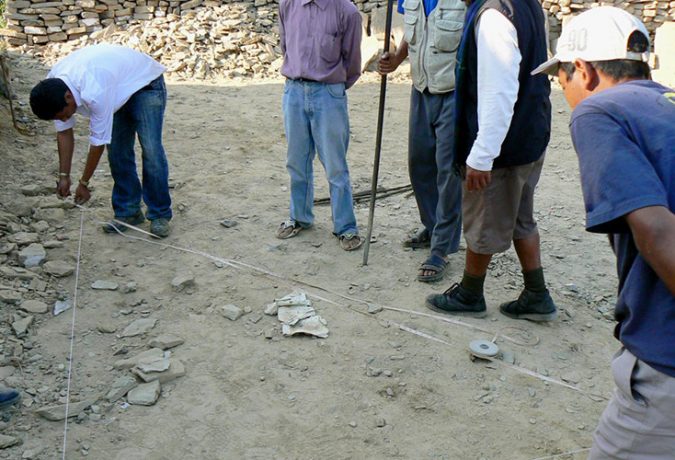
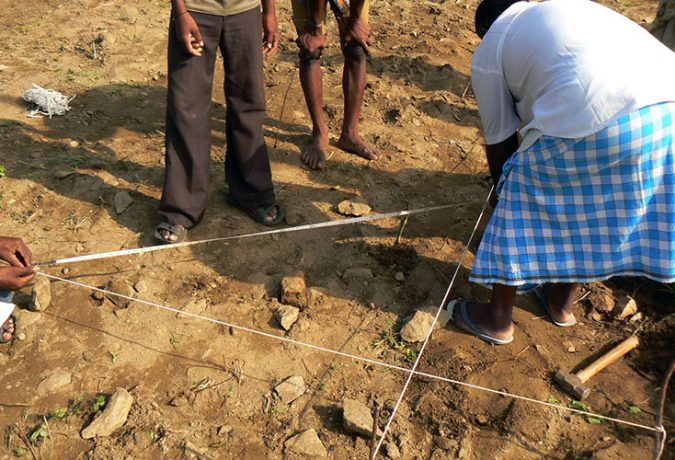
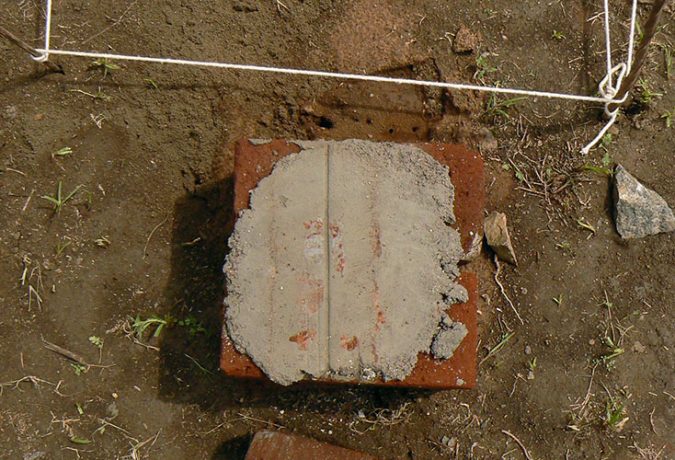
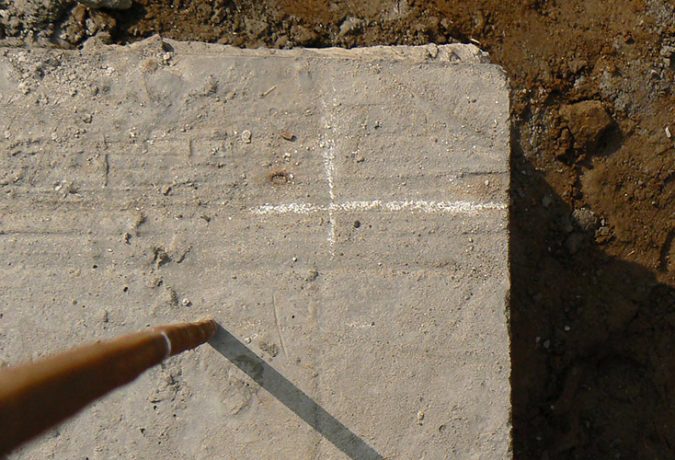
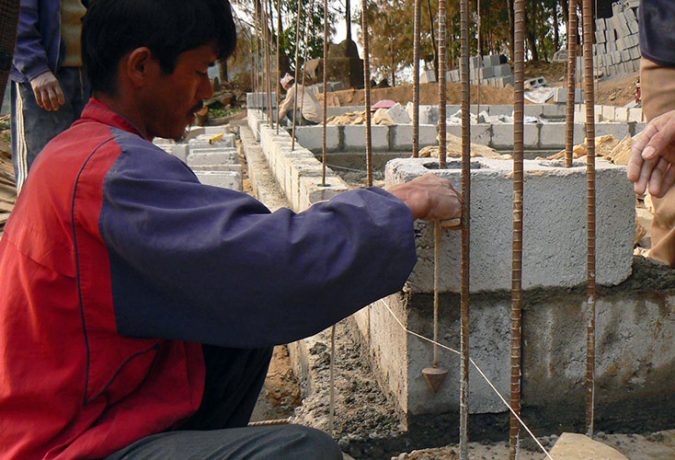
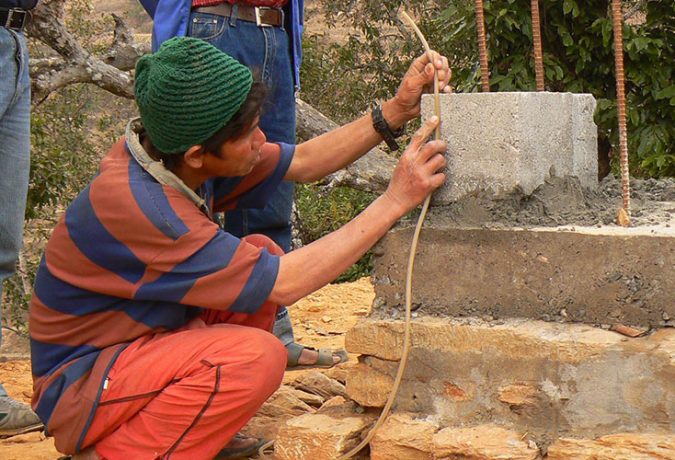
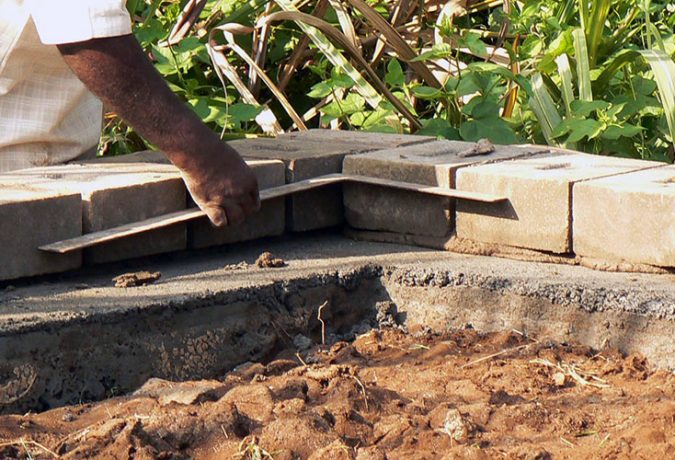
01. Some tips on how to make your building straight, level and square.
-
02. A simple trick to check if your main grid is square, is to measure triangles according to Pythagoras...
-
03. ...If one side is 6, and the other is 8, then the diagonal must be 10.
-
04. Mark your main lines outside the building as well, and protect these, so that you can use them again at various stages of the construction.
-
05. Start with the most important blocks first by marking the corners of your walls on the foundation.
-
06. Place the corner blocks and make sure that they are straight and level horizontally…
-
07. …check that the blocks are plumb in the vertical direction with a plumb level…
-
08. …and check that all corners are placed at the same height with a water level.
-
09. Some extra checking that the walls are square can be done with a steel angle.
-
10. Do NOT start like this, it's impossible to assure that all lines of bricks are level and have the same height. It will cause tension in your walls
-
11. So NOT like this, the wall panels will all have different heights.
-
12. This is the way to do it. Build up your walls line by line and use guides.
-
13. And keep checking regularly that your walls are straight, level and plumb all along the construction process.
-
14. Roofing. The wood for this beam was not dried properly and has cracked. As it is a structural beam that carries the whole roof load; replace now!
-
15. Protect your wood against termites, but NOT AFTER the woodwork has been installed…
-
16. …as it is not possible to properly cover all sides and connections of the trusses, rafters and purlins.
-
17. This is NOT protected sufficiently and termites will be able to attack the wood. Also here the anchoring is NOT ok.
-
18. Especially in cyclone areas, the roof must be thoroughly anchored to the walls with steel strips, or preferably be bolted tightly to the top beam.
-
19. Check the roof before approving it. Cracked reepers need to be replaced by the contractor, as they need to carry the heavy roofing tiles.
-
20. Here a complete rafter is missing! The roofing tiles are sagging and may fall down soon.
-
21. The roofing tiles must fit properly, otherwise the roof will leak.
-
22. Check all woodwork, including doors and windows, for little holes that may indicate the presence of termites.
-
23. Tip about digging a water well. Never do this in the wet season while the water table is high…
-
24. …because it will result in a dry well during the dry season, when the water table is low.
-
25. Technology transfer. An interesting way to make sure the knowledge stays in a village, is to paint the ways of construction on the building itself.
-
26. Here we painted all earthquake resistant measure on the outside of the building…
-
27. …and explain in the Nepali language what we did and how. Hopefully the villagers will remember these lessons when they build their own house.
-
28. It is important to be present on-site for constant supervision, like our supervisor in Sri Lanka, Mr. Kavirajah.